Some people may consider creating the 3D prototype for this suit is a waste of time.
Well, check this out! Lets just go ahead and imagine Titanium replacing any of the plastic I design!
http://techcrunch.com/2013/09/05/elon-musk-shows-off-his-crazy-iron-man-inspired-3d-modeling-setup/
Friday, September 6, 2013

Thursday, September 5, 2013
Just this afternoon, I finished printing out the last piece to the calf plate! I just need to work on sanding down the warpage from the mid-calf prints as they warped on the platform, before welding the calf together. I will work on getting it to fit together much more seamlessly with the shin.


Yaaaay! Now onto getting the mechanics installed!


 |
| Here you can see the mid-calf pieces are warped from where they were on the platform and their combined warping made the gap you can see here. That will be done away with when I sand both pieces flat on that seam. |
Wednesday, September 4, 2013
Printing out the calf since yesterday afternoon, when another spool of plastic came in. Here are a couple pics of newer pieces. The section between the mid calf is printing out today.
 |
| The two mid calf pieces here are taped inside on the seam but fit flawlessly onto the shin! |
 |
| As usual, a bit of cracking happens and needs to be filled in. Beside you can see the temporary piston for the shin to operate with the calf. Hopefully I could get ahold of some linear actuators if pneumatics is less than satisfactory. |
 |
| The mid section there is actually going to set the lower calf down a bit further but it is just balanced on the shin. |
 |
| Sized and screwed in the heel joint here. it glides perfectly with the axis being the outside of the heel. |
Tuesday, September 3, 2013
Hope everyone's Labor Day weekend was great! I worked some on creating these parts yesterday. Just need to thread the metal shaft to screw into the printed parts on the larger dampener/ pneumatic piston.
 |
| I printed the pneumatic piston parts last night and just need to scale them up a bit and reprint. |
 |
| If we decide to create pneumatics on this peice I can redesign the plunger and how the air would force into the chamber. |
 |
| 20x60 Banner ready for the Maker Faire, along with the poster of the boot and a poster of the actual MK 42 suit. |
Saturday, August 31, 2013
Today was an electronics config day, while we are trouble shooting the lock mechanism. We ended up jumping over to the Arduino Mini to get the circuit set up. We found that the magnet sensor wasn't reliable enough so we ran out to the electronics store to switch it out for a limit switch and some more voltage reg. parts. It is a pretty complex circuit we are having to program for this particular element but I have the parts printing out now that will house it all.
Yesterday, I was able to CNC out the aluminum arms for the shin plate as well! Then I installed them and put the pins into the front of the boot.


Up next... printing the rest of the calf plate, installing the lock mechanism, adding sprints, other joints, etc. Then onto the gauntlet!
 |
| Matt working with a very small micro controller, which burnt out because of back voltage from the solenoid. So we switched to Arduino Mini for now. |
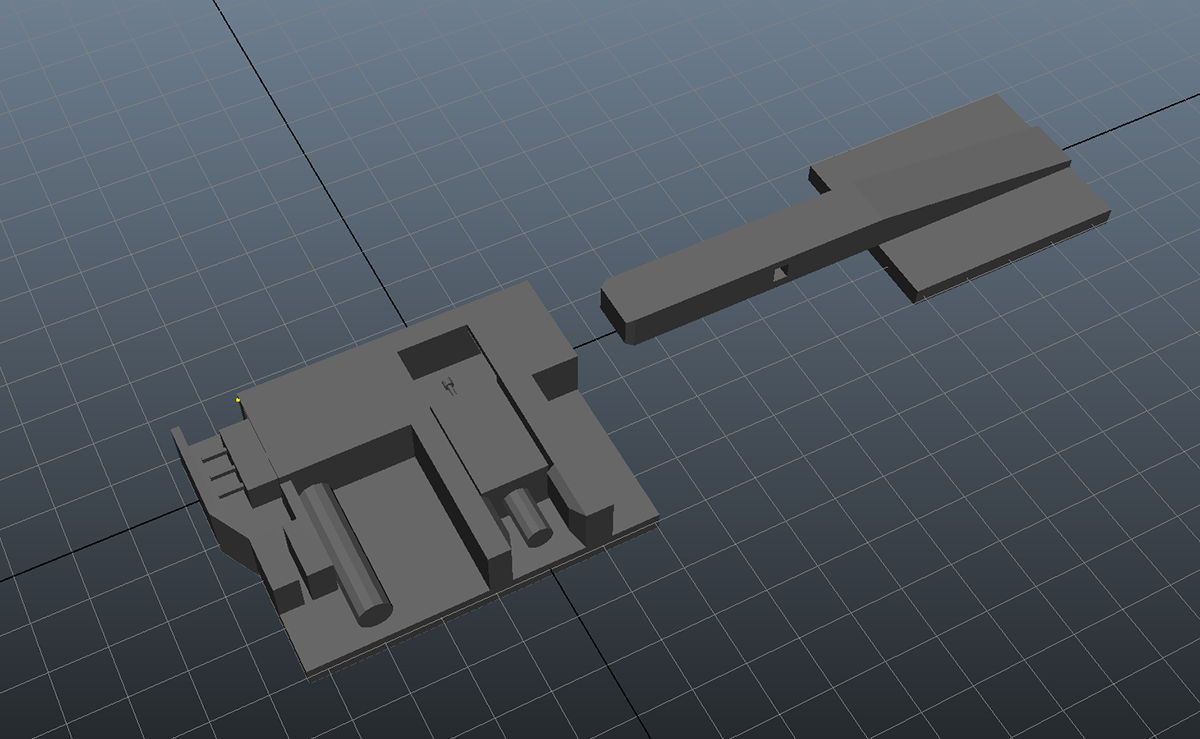 |
| The lock box housing is being printed out now, and the pin printed earlier this morning. |
Yesterday, I was able to CNC out the aluminum arms for the shin plate as well! Then I installed them and put the pins into the front of the boot.
 |
| The head slipped on a couple attempts, but I was able to cut out a couple arms. |
 |
| The large vice grip is a must! |
 |
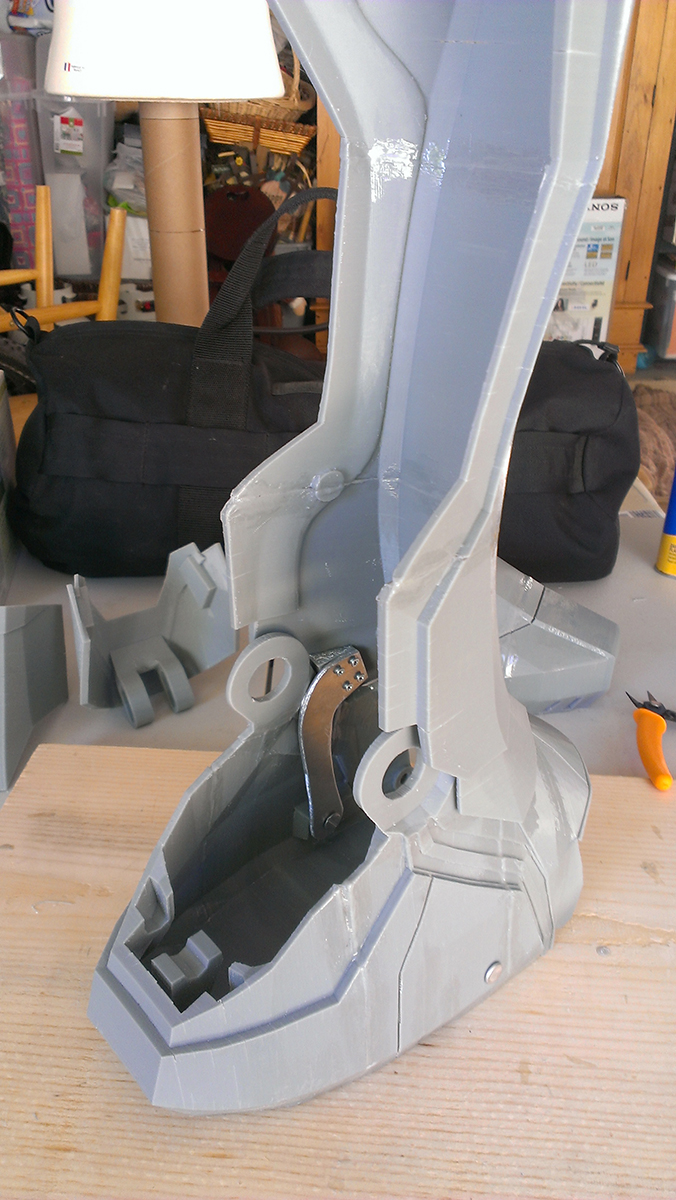
| I screwed in the aluminum arms, ready to install. |


 |
| The toe and shin are ready to get hooked up to a couple more things for motion control. |

Up next... printing the rest of the calf plate, installing the lock mechanism, adding sprints, other joints, etc. Then onto the gauntlet!
Friday, August 30, 2013
Lately, I have been learning the CNC machine workflow more. Between working two jobs it has been hard to find ample time, but the time I am working lots gets done! Here are a couple update pics!
 |
| Using the Mach 3 interface to operate the execution of the G-code and table. |
 |
| Cutting out of plastic to prototype the shin arms before cutting them out in aluminum. |
 |
| Yesterday I quickly welded the boot together and just waiting for more filament to arrive in the mail to print the rest of the calf! I will also be working on printing the lock mechanism today so we can get that fitted with the electronics tomorrow. |
Sunday, August 25, 2013
While I'm printing consistently twice a day, here is a look at my little work area in the garage. So you know I'm not ordering things from Shapeways, and you can see some of my processes.
 |
| A table for working on the boot assembly and for the electronics team to come over and work also. |
 |
| I will need to order some more grey plastic rolls soon. Here I started printing the mid shin piece. |
 |
| What you dont see in the pretty pictures of the boot pieces, the scraps from rafts and supports. |
 |
| The boot V2 so far, with shoe done now and working on the shin. |
 |
| You can see these are not glued or sanded at all, just right off the printer. |
Subscribe to:
Posts (Atom)